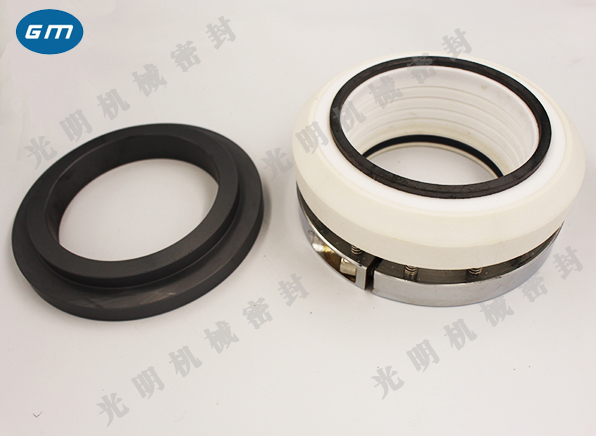
Mechanical seal for kettle Explanation of correct installation steps of
1. Check whether the model and specification of the mechanical seal to be installed are correct.
2. Check whether the dimensional accuracy, geometric accuracy and interrelation of the parts related to the installation of the main engine and mechanical seal meet the technical requirements. It mainly includes the following aspects:
(1) The radial runout tolerance of the shaft (or shaft sleeve) where the mechanical seal is installed, and the surface finish and outer diameter dimensional tolerance of the shaft (or shaft sleeve).
(2) The perpendicularity tolerance of the sealing chamber and gland joint locating end face to the shaft (or shaft sleeve) centerline.
(3) The chamfer and finish of the end structure of the shaft (or shaft sleeve) where the dynamic ring seal ring is installed and the end structure of the housing hole where the mechanical seal is installed.
(4) Axial displacement of rotating shaft of mechanical seal during operation.

3. During the installation of mechanical seal, it shall be kept clean, and it is not allowed to knock the sealing element with tools to prevent damage and destruction.
4. During installation, a layer of clean engine oil and turbine oil shall be coated on the surface of the moving and stationary rings. A layer of clean engine oil or turbine oil shall also be coated on the auxiliary seal ring (including the dynamic ring seal ring and the static ring seal ring) before installation to ensure smooth installation.
5. After the stationary ring seal ring is sleeved on the back of the stationary ring, install it into the seal end cover. Pay attention not to damage the end face of the stationary ring, ensure that the end face of the stationary ring is perpendicular to the center line of the end cover, and note that the anti rotation groove on the back of the stationary ring should be aligned with the anti rotation pin, but should not contact.
6. The rotating part of the mechanical seal is fixed with the shaft by two fixing screws on the spring seat. When tightening the fixing screws, ensure the working length of the spring.


